
The complete guide
How to Choose and Place a Solar Animal Repeller That Actually Works
The problem with uninvited garden visitors
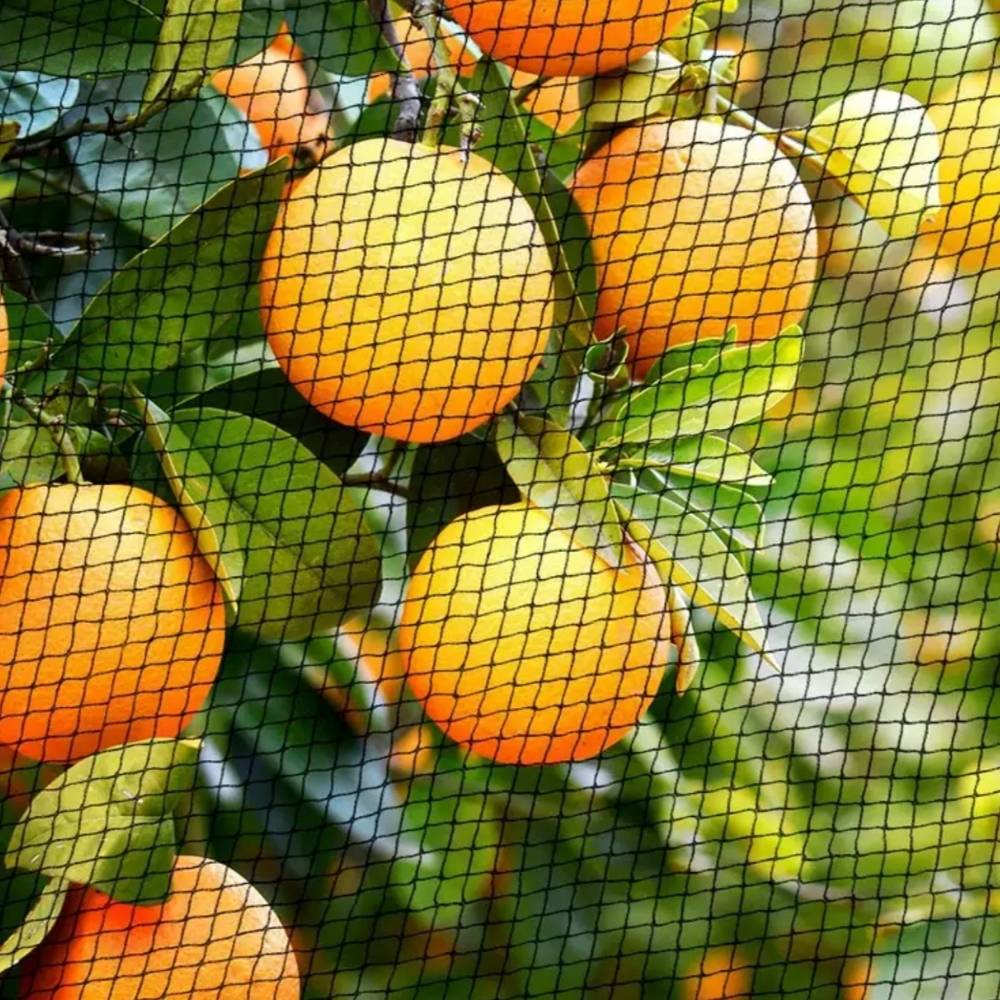
Gardens fail quietly. You plant seedlings, something digs them up overnight. You get tomatoes almost ripe, and a bird takes the first bite out of every single one. A cat decides your freshly turned bed is the softest toilet in the street. Rats find the compost. None of it happens all at once, and that is exactly why it is so frustrating. By the time you notice a pattern, the animal has already decided your yard is part of its nightly circuit. The usual responses are poor. Poison is dangerous around pets and children, and it kills things you did not intend to kill. Traps mean dealing with a trapped animal, which most people hate. Fencing works but costs real money and looks like a fortress. Sprays wash off in the first decent rain. Netting is great for one fruit tree and useless for a lawn. A solar animal repeller sits in a different spot. It does not catch or harm anything. It just makes a specific patch of ground feel unpleasant enough that the animal picks a different route tomorrow night. That is a smaller goal than eradication, but for most households it is the goal that actually matters. ## How motion-triggered ultrasonic deterrents work
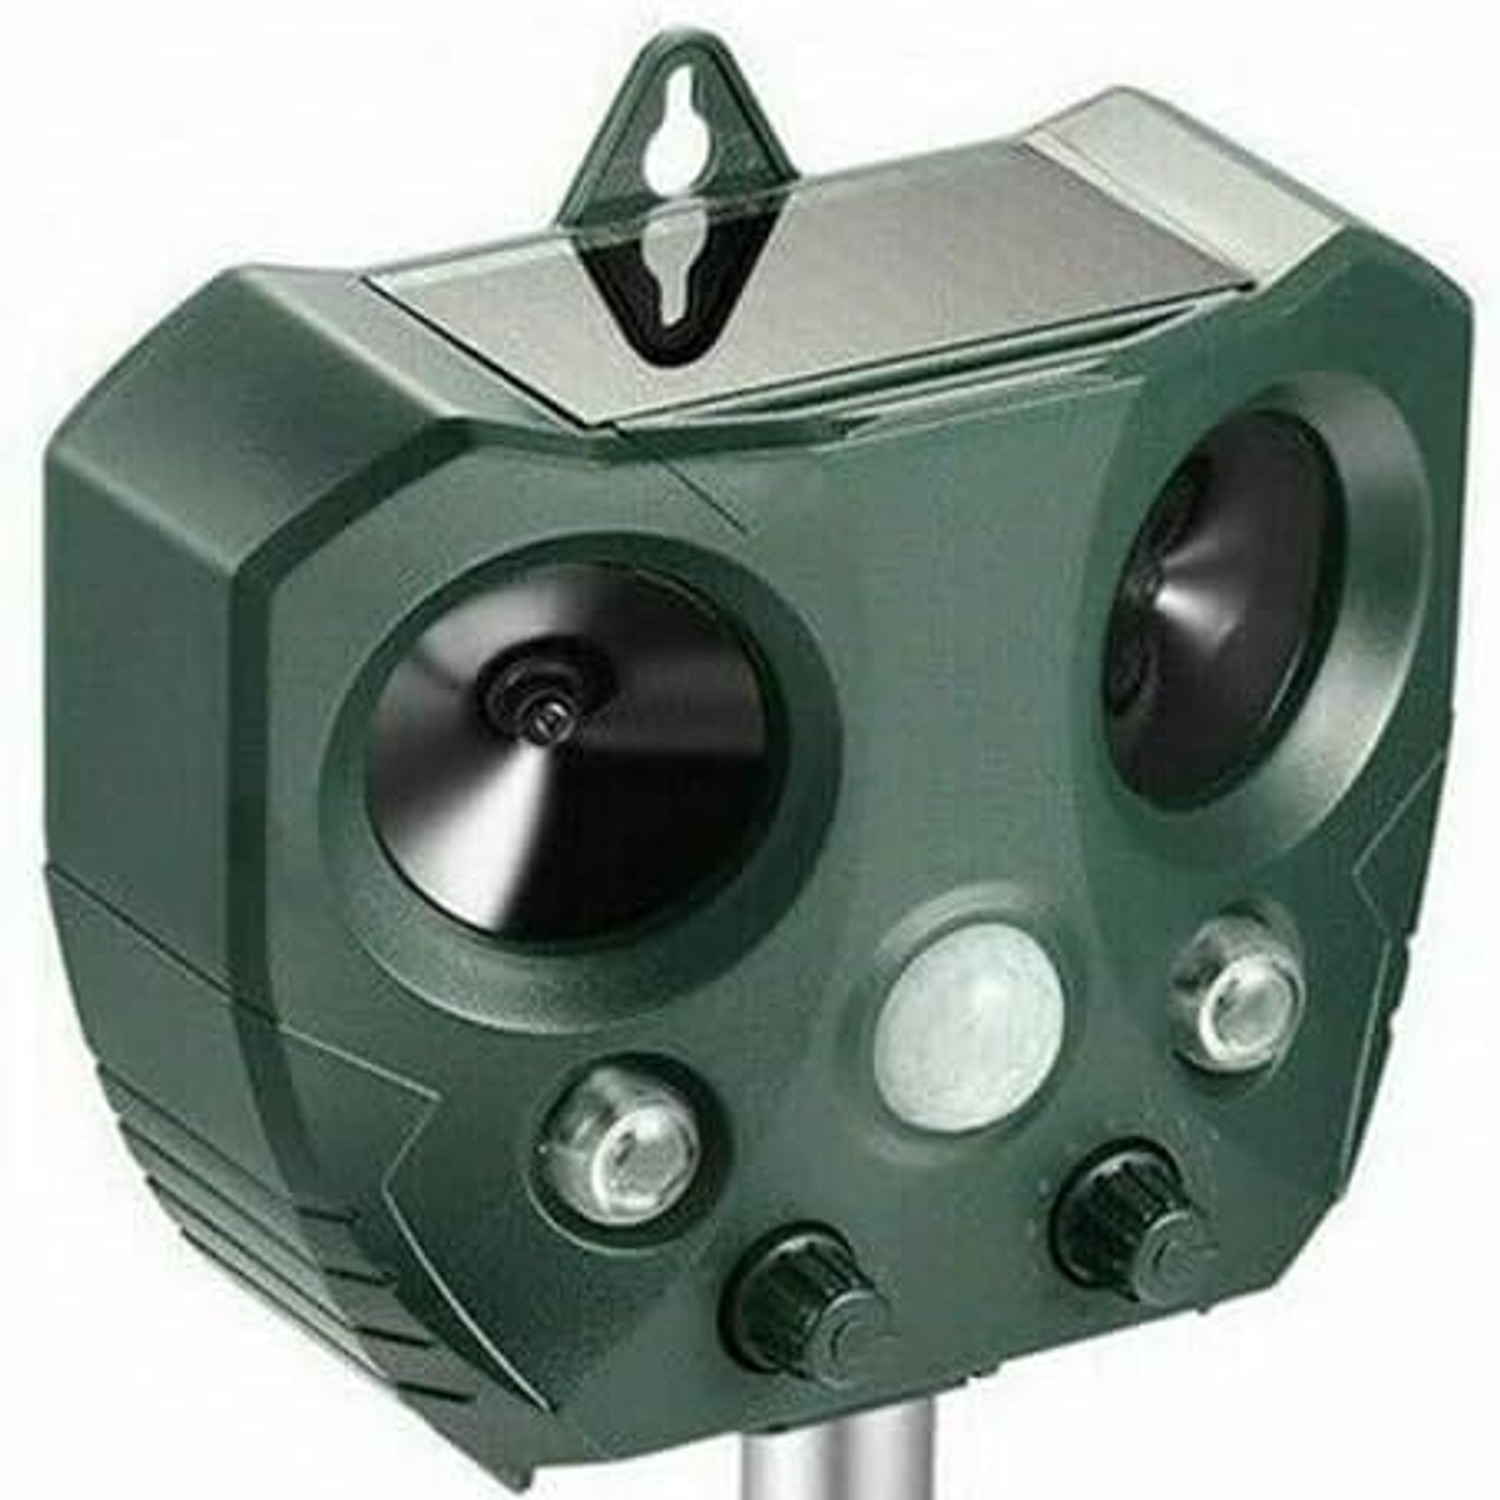
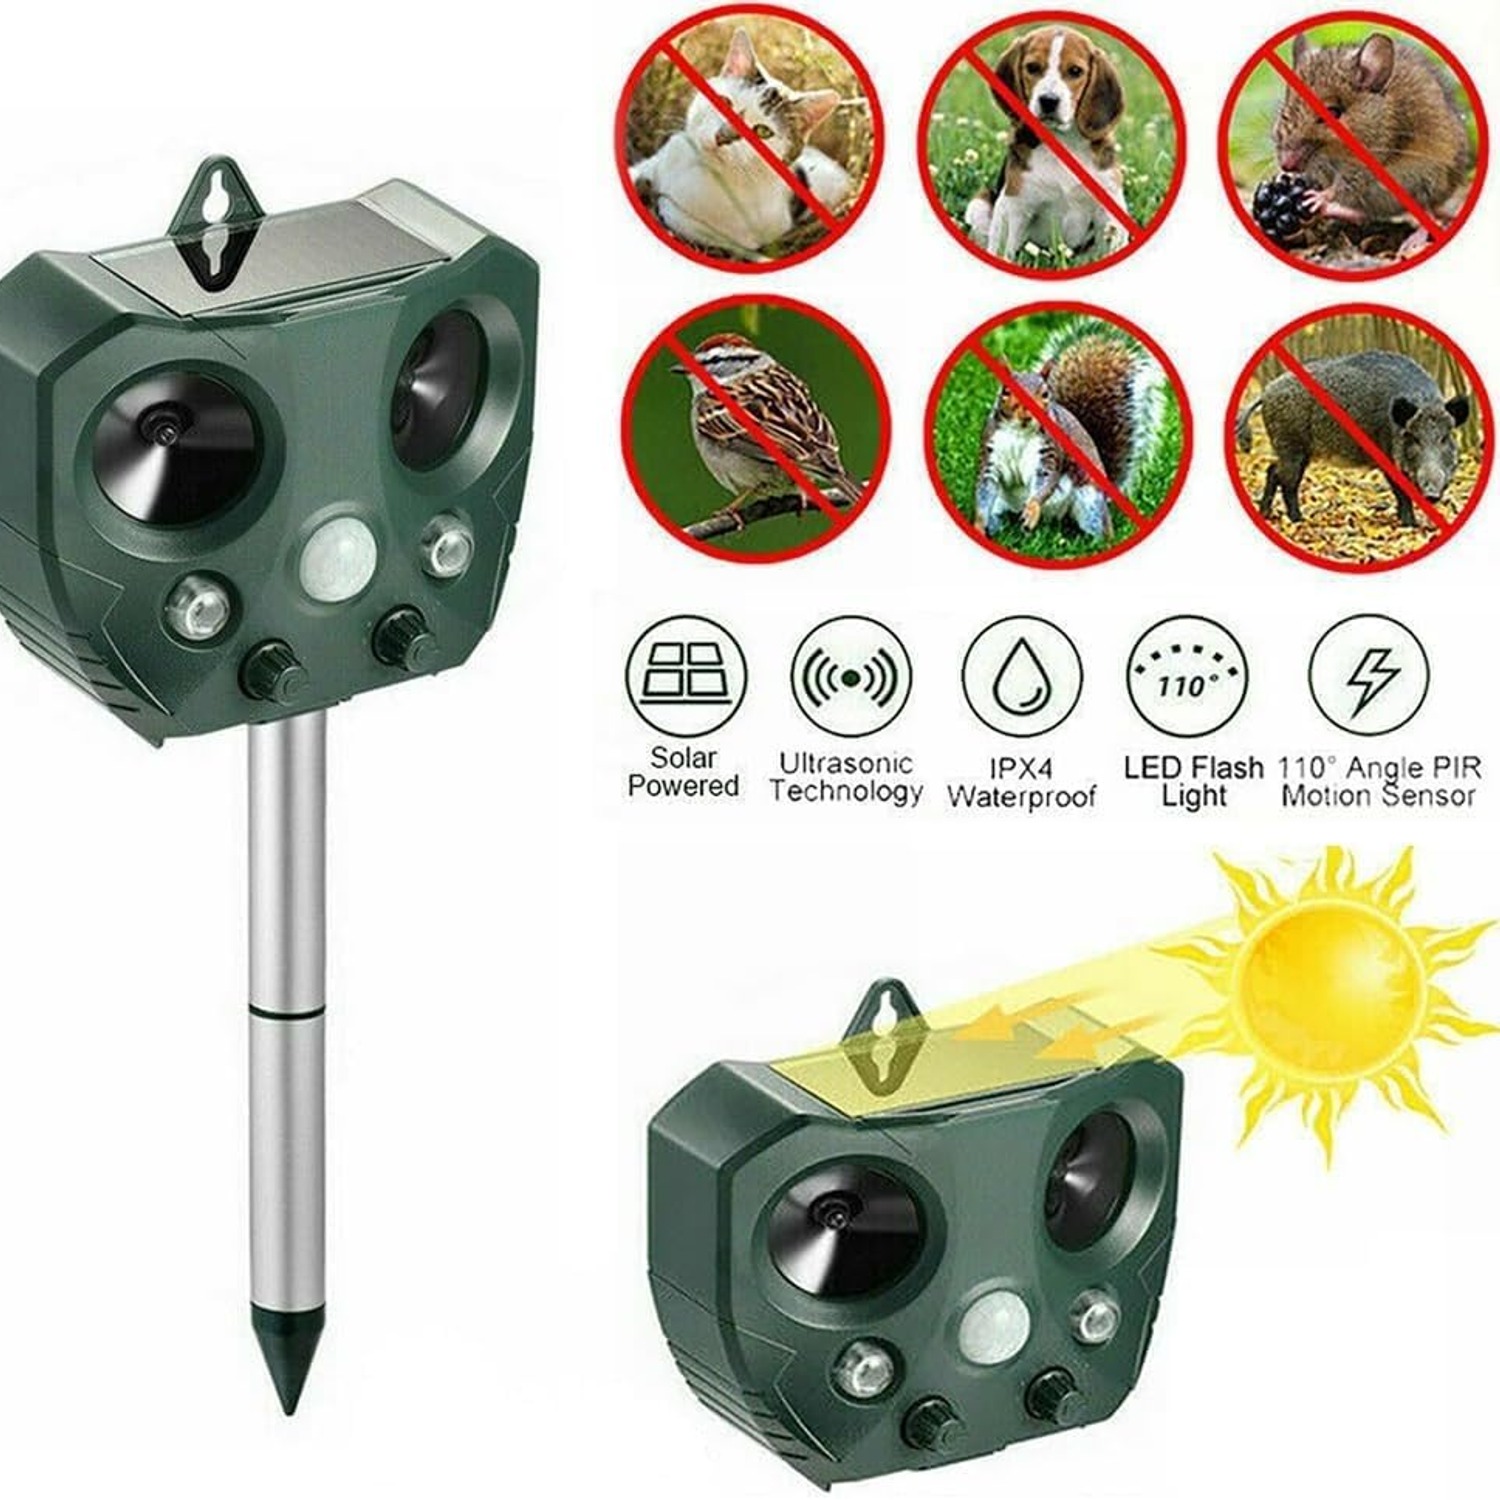
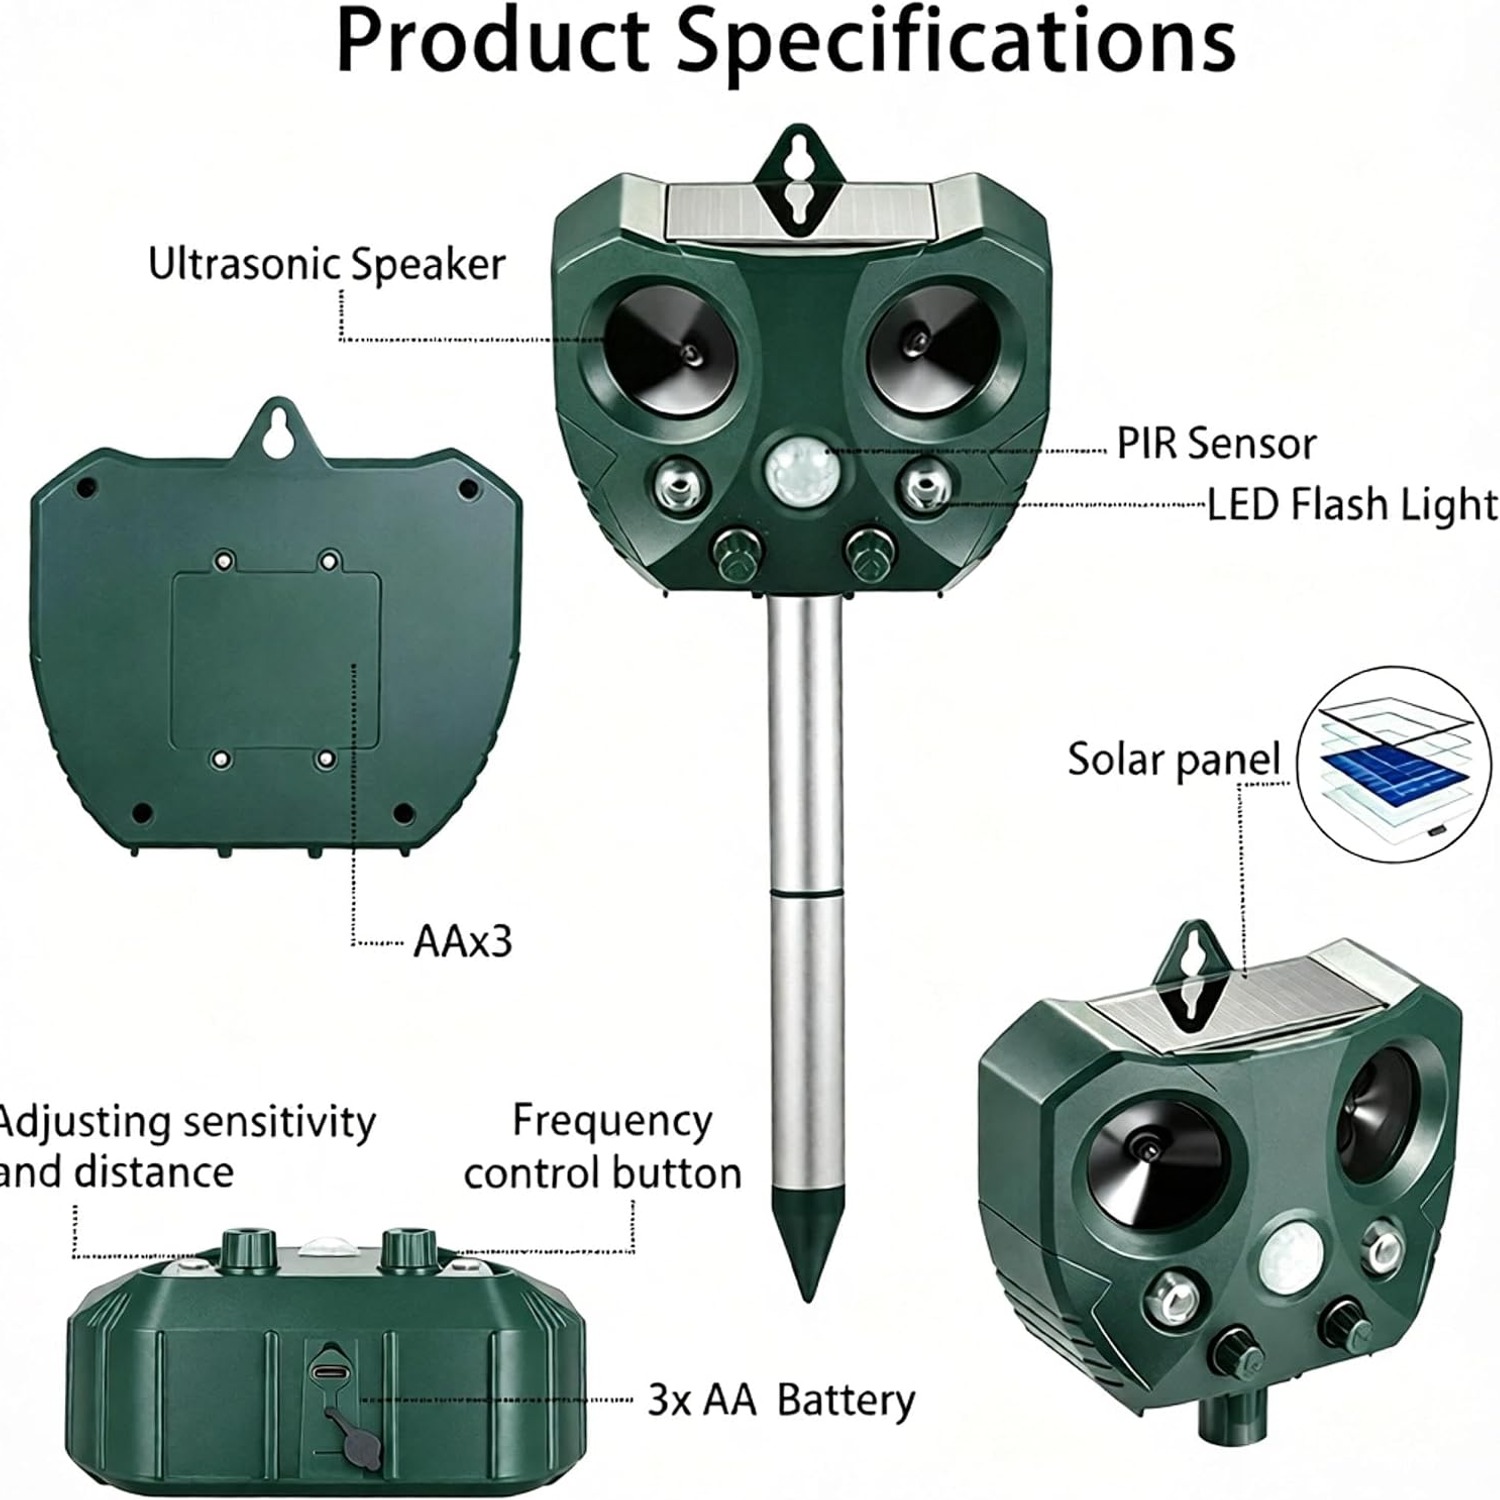
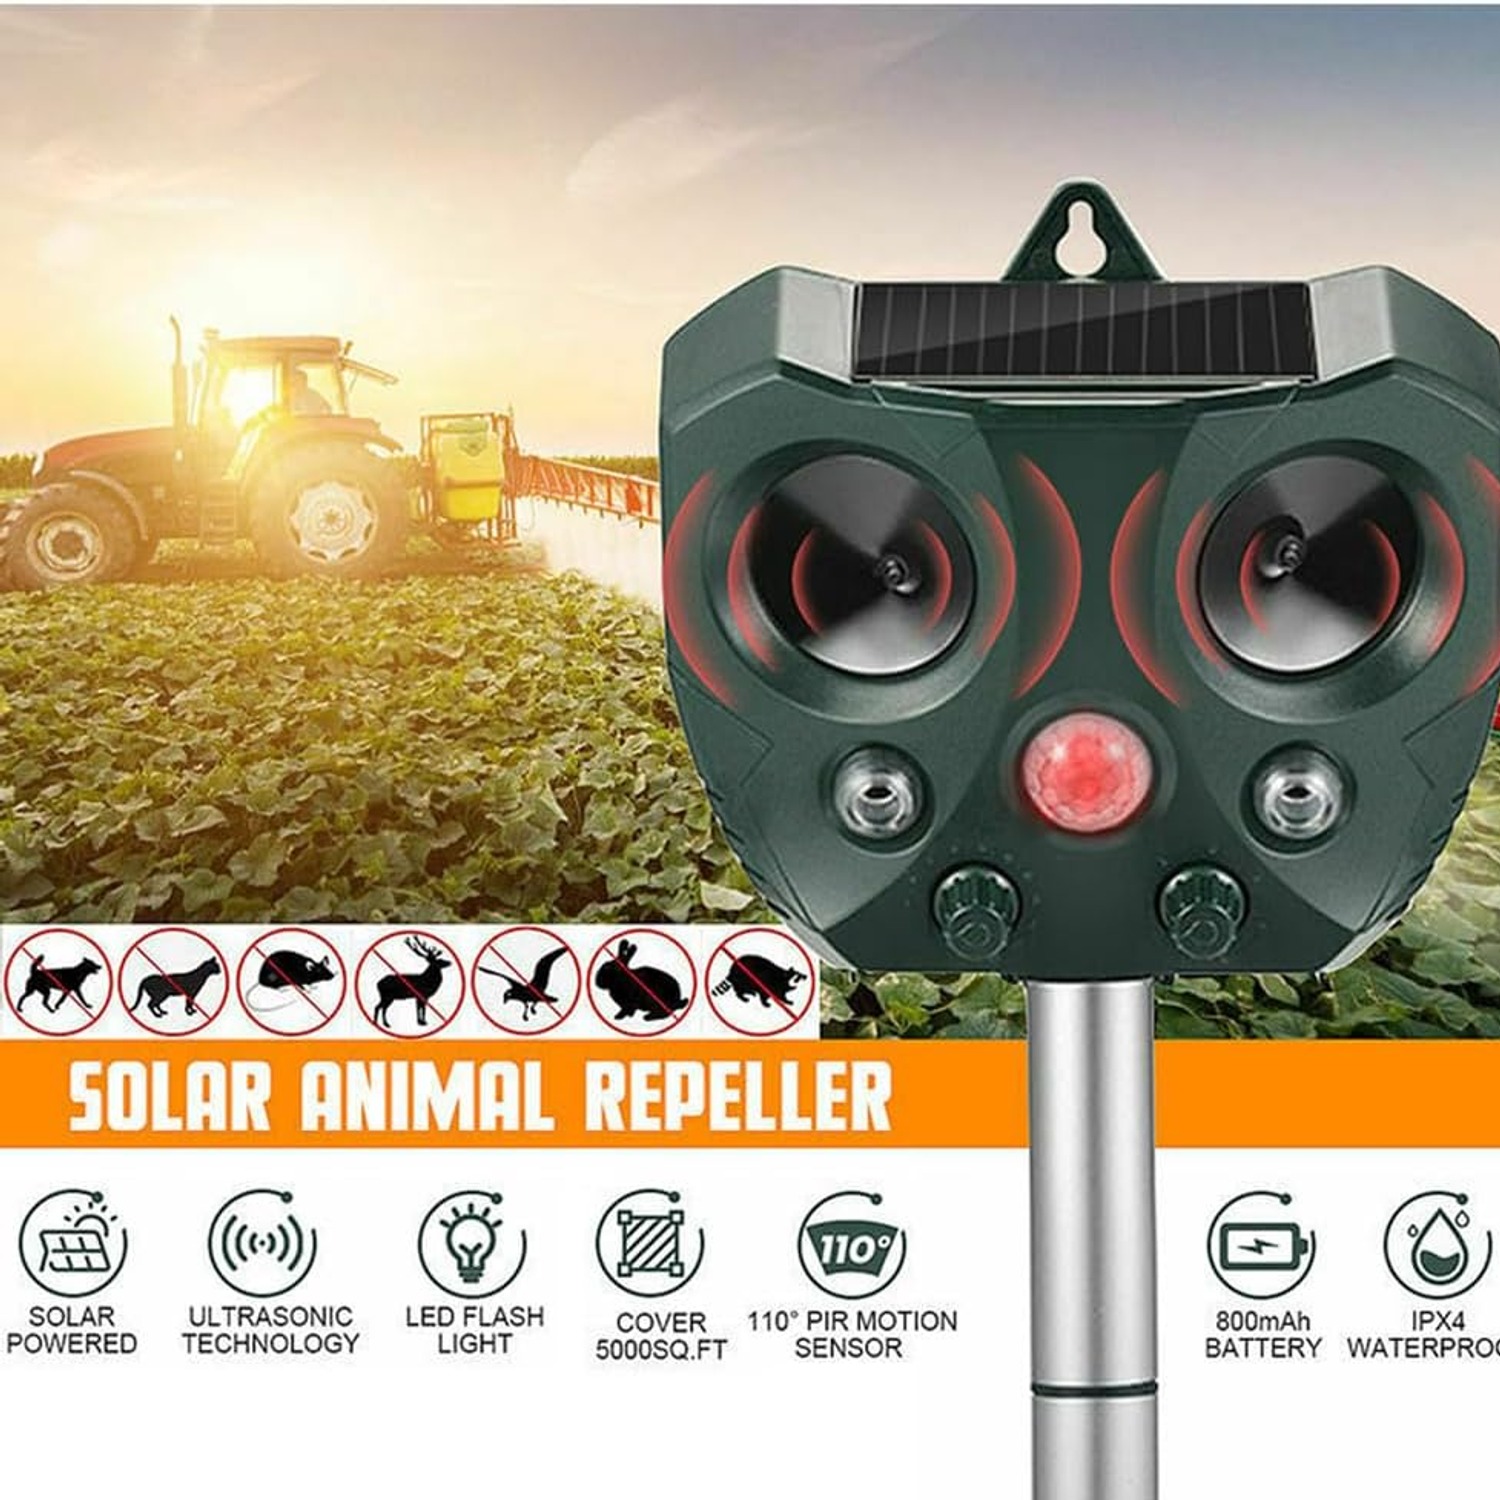
There are three parts doing the work here, and understanding each one helps you place the unit well. First is the motion sensor. This is a passive infrared sensor, the same kind used in security lights. It detects a warm body moving across its field of view. It does not see heat on its own and it does not see movement on its own, it needs both together. That matters, because an animal walking straight toward the sensor is harder to detect than one crossing sideways in front of it. Second is the ultrasonic output. Two speakers push out frequencies above the range most adults can hear. To a cat, rat or bird, that sound is loud and unpleasant. Ultrasonic sound is very directional, it travels in a cone rather than spreading everywhere, and it does not go through fences, walls or thick shrubs. This is the single most misunderstood thing about these devices. People put them behind a hedge and then wonder why nothing changed. Third is the flashing red LED. For nocturnal animals this often does more work than the sound. A sudden red flash in the dark reads as a predator or a threat, and it triggers a flight reaction. During daylight hours the light contributes less, so for daytime bird problems you are relying mainly on the sound and the surprise. The combination is what makes a motion sensor pest repeller effective over time. One burst startles. Twenty bursts over two weeks teach the animal that this particular lawn is a bad place to be. ## Who this suits
This kind of device fits a few situations well. Suburban yards with a cat problem are the classic case. A neighbour's cat on a fixed route is a creature of habit, and habit is exactly what a trigger-based deterrent breaks. The same applies to a possum crossing a specific fence rail or a dog cutting through a corner of the lawn. Vegetable growers who do not want chemicals anywhere near food crops get a lot out of it. Nothing is sprayed, nothing soaks into the soil, and nothing needs reapplying after rain. For anyone looking for chemical free pest control around edible beds, that is the main appeal. Small holdings and hobby farms with deer or bird pressure on a specific entry point can use it as a gate guard rather than a whole-property solution. Point it at the gap in the fence line, not at the open paddock. It suits people less well if you need total exclusion. If a single bird eating a single fig is a disaster for you, net the tree. If rats are already nesting inside a wall cavity, you need to seal the entry and deal with the nest, not startle them outside. Think of this as a boundary tool, not a cure for an infestation that has already set up house. ## Choosing the right setup for your yard
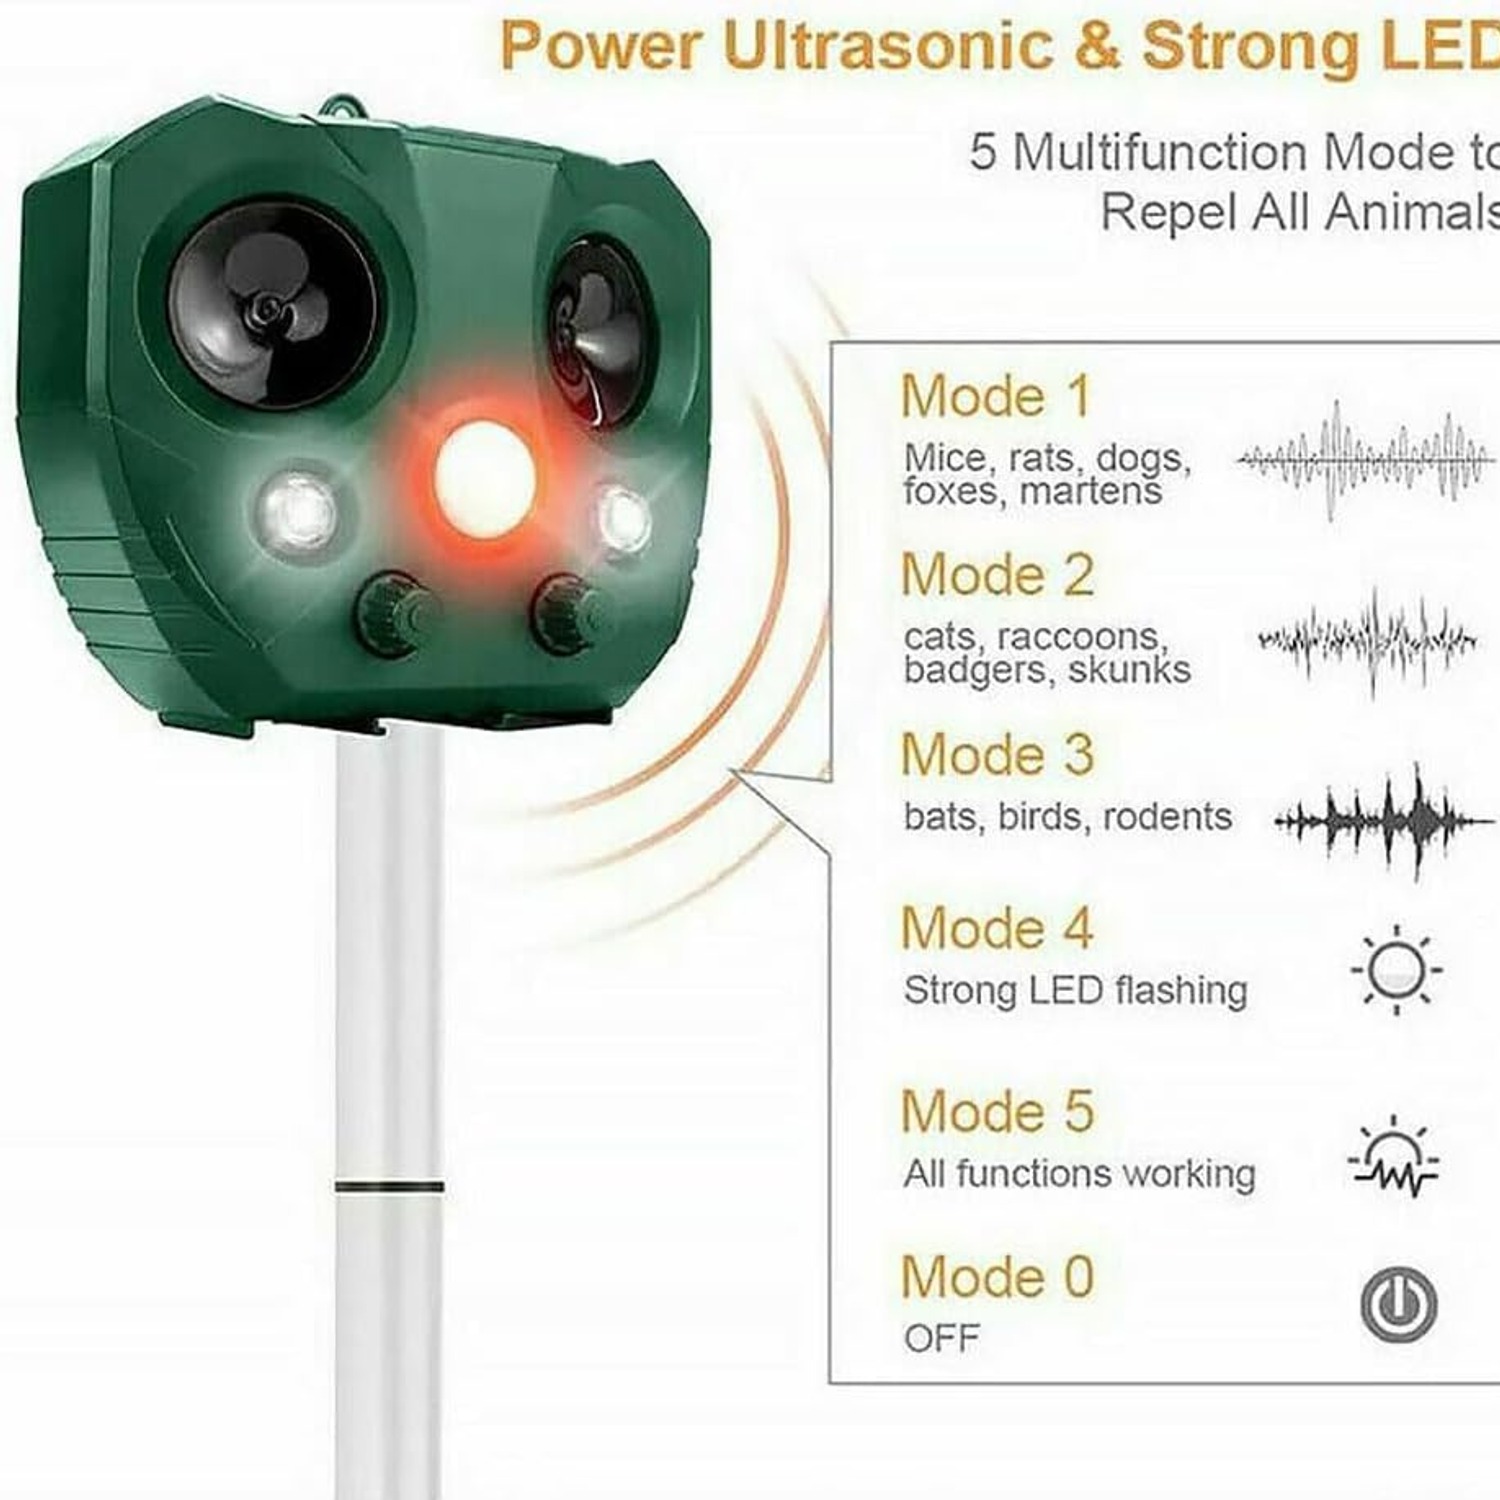
Start by working out where the animal comes from, not where the damage is. Damage is where they end up. Entry is where you want the device. Soft soil with footprints, a worn track through grass, a low point in the fence, a tree branch that overhangs the roof: these are the places worth protecting. Next, think about the shape of the area. One unit throws a cone, not a circle. A narrow side passage or a single garden bed is easy. A wide, open back lawn with three different access points is not, and honestly two units facing different ways will outperform one unit cranked to maximum. Then consider sun. The panel needs daylight to keep topped up, so a spot that gets several hours of direct sun is ideal. The USB backup exists precisely because the perfect tactical position is often a shaded one. If you have to choose, put it where it works tactically and plan to recharge by cable every few weeks. Finally, set the sensitivity to match the animal. Higher settings for larger animals at distance, lower settings for close-range work on cats and rodents. If the unit is flashing all night at nothing, the setting is too high. Five modes gives you room to experiment, and experimenting is genuinely worth half an hour of your time. ## Getting the placement right
Height is the thing most people get wrong. The sensor needs to see the animal's body mass. Mount it at roughly chest height for the target species. For a cat or a rat that means low, close to the ground. Put it at waist height and a cat will stroll underneath the detection zone untouched. Angle matters nearly as much. Aim slightly across the path of travel rather than straight down it. A sideways crossing is far easier for a PIR sensor to pick up than a head-on approach. Clear the line of sight. Trim grass in front of the unit, pull back the branch that sits across the lens, move the pot that blocks the lower half. A sensor that can only see the top third of its cone is only doing a third of its job. Move it occasionally. Animals adapt to anything that never changes. Shifting the unit a metre, changing the angle or switching the sensitivity every few weeks keeps the effect fresh. People who treat it as set-and-forget furniture get a few good weeks and then wonder why it stopped working. ## Looking after it
Maintenance is light but not zero. Wipe the solar panel with a damp cloth every few weeks, more often if you are under a tree or near a dusty road. A film of dust cuts charging efficiency noticeably, and a half-charged unit fires fewer, weaker bursts. Check the sensor window at the same time. Cobwebs across the lens cause both false triggers and missed ones. Plain water on a cloth is all you need, no solvents, no scouring. If you get a long grey stretch, bring the unit in and give it a USB charge rather than letting it run flat. Batteries of any type last longer when they are not repeatedly drained to empty. Same thing before winter storage, charge it fully and keep it somewhere dry. That is the whole routine. Five minutes a month, if that. ## The short version
A solar animal repeller is a habit-breaking tool. It will not eliminate wildlife from your neighbourhood and it is not meant to. What it does well is make one specific patch of ground, one fence line or one garden bed feel like a bad place to be, night after night, until the animal routes around it. Place it low, aim it across the approach path, keep the sensor's view clear, and set the sensitivity so it fires at your target and not at the wind. Keep the panel clean. Move it every so often. Add a second unit if your yard has more than one way in. Do those few things and you will get far more out of it than someone who stakes it in the middle of the lawn and hopes.